Well this is a new category of posts to ever publish on the Against all Grain blog! You all have been asking my strategies and opinions on it all, and while I am in no means an expert, I have now breastfed and pumped for 3 babies (2 of which while eating a paleo diet). So I wanted to give you whatever knowledge I have!
First up, I'm giving you my tips on pumping and storing breastmilk. I have received so many questions through Instagram and Facebook regarding this subject, so I wanted to start with this. This post will include:
The Pump
When to Pump and Building a Stash
Eco-friendly and Plastic-Free Storage
I also have a post coming up next week from my friends at Whole30 on maintaining a good supply while eating a grain-free diet or participating in a Whole30, as well as some recipes to help boost your supply.
If there's anything I don't cover in those 3 posts, let me know in the comments and I will work on getting those questions answered for you in future posts!
The Pump
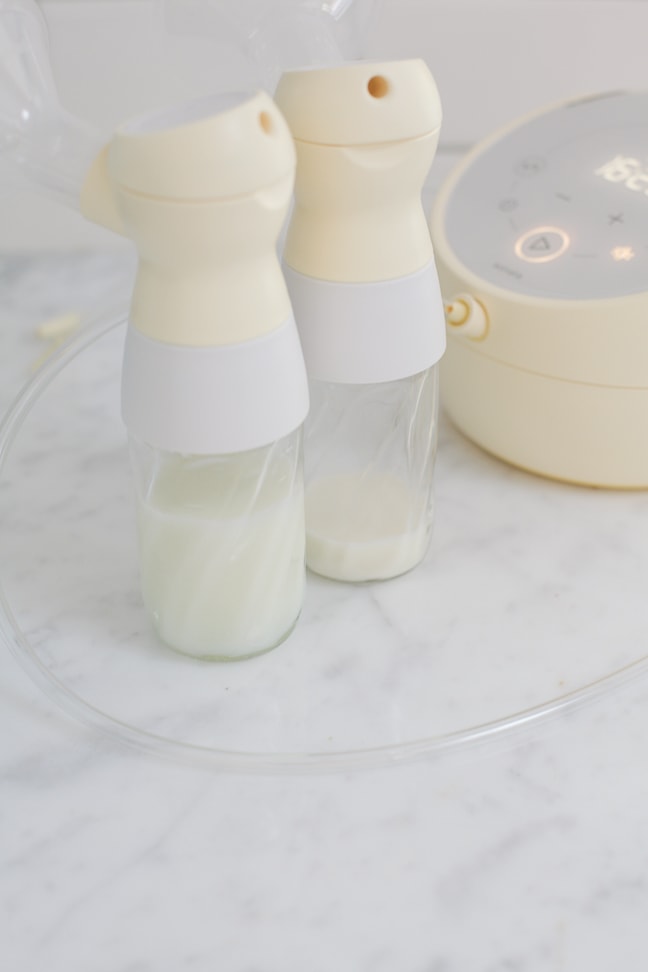
I used the Medela Pump In Style for both of my boys but recently switched to the newer Medela Sonata for Kezia. I always found the Pump in Style cumbersome and loud, plus I cannot tell you how many times my batteries were dead when I was traveling and desperately needed to pump.
This double-electric breast pump is designed for moms who pump several times a day. It’s super quiet (like really quiet!!) and lightweight compared to my old pump. The hospital performance makes for consistent and efficient pumping sessions, and it’s really easy to operate. I also really appreciate that it can run on a rechargeable battery. If I charge it overnight, I can usually get 3 or 4 pumping sessions out of it before having to plug it in again.
The only downside I've seen so far is there are a few extra parts to wash and put back together overtime, and a little more milk seems to get stuck in the connector and valve than my old pump. Every drop counts! Am I right?!
You can buy it here, but first check with your insurance to see if they cover this machine or not. With Asher, I paid out of pocket for my pump, and was so happy to hear it was covered when I needed a new one for Easton. This particular model wasn't covered by my insurance when I checked back in May, but it has been worth the cost.
When to Pump and Building a Stash
My favorite site for all things breastfeeding and pumping is Kellymom.com. I'm not going to try to answer all the questions you may generally have about breastfeeding or pumping, because this site is so detailed and helpful, and can answer most of these better than I could!
I am so thankful for a job that allows me the luxury of working from home and getting to breastfeed for most of my baby's feedings throughout the day. I do travel occasionally though, and often have phone calls or meetings, so I try to keep a stash of milk in my freezer for the times when she needs a bottle. I also like to have excess milk for those evenings when I feel like I've run dry and she's famished, or for date nights.
Once my supply has leveled off after birth, usually around a month or 2 months, I start pumping in the morning after the first feeding. I do 10 to 15 minutes of double pumping (both breasts at one time), and start saving up a couple of ounces at a time. At the beginning, I'm usually only able to pump 1-2 ounces total, but after a few weeks of doing this, I can typically get 2-3 ounces.
When the baby starts sleeping a little better and goes to bed before me at night, I also add a pumping session right before I go to bed. Depending on when she ate last, I can get 3-4 ounces during this one. I just have to cross my fingers she doesn't wake up for a few hours after I've pumped so I don't have to warm a bottle and get to stash the milk in the freezer rather than “wasting” it! Am I the only crazy person who sees giving their baby the milk they so painstakingly pumped as wasteful? Ha!
Another trick I learned along the way was to take a 15 minute break after 10-15 minutes of pumping, and start again to see if you can get a second let down. I can stockpile a few extra ounces this way, which is nice to have as a safety net. It will also help to increase your supply.
By doing this everyday, I can be sure to always have a good supply of around 150 ounces a month in the freezer. This helps ease my mind for any last minute trips I may have to take, or long days away from my home office where I may not be able to bring milk back right away for her to drink.
How to Store
Green storage was important for me this time around. I switched to stainless steel bottles for Easton, but didn't even think about the fact that I was pumping into plastic bottles and storing in plastic bags. Even though they were BPA-free, they are still plastic and warm liquid plus hundreds of runs through the dishwasher could cause them to leach. So I set out to find a better alternative and have had a good experience so far.
I bought these 4-ounce glass bottles to pump into instead of the ones that come with the machine. I also have the 8-ounce bottles for storing in the refrigerator. You could also use them to pump into if you have a huge output. It does look a little funny hanging down though, and makes it hard to move since they'll hit the tops of your thighs when seated!
Any standard sized bottle neck (not wide mouth) will work with your pump parts, but these ones were the most cost effective and felt sturdy and not easily breakable. If I'm leaving milk in the refrigerator, I will store directly in these bottles. The yellow plastic lids from the original pump bottles fit on here perfectly if you don't want to store them with the nipple top that comes with them.
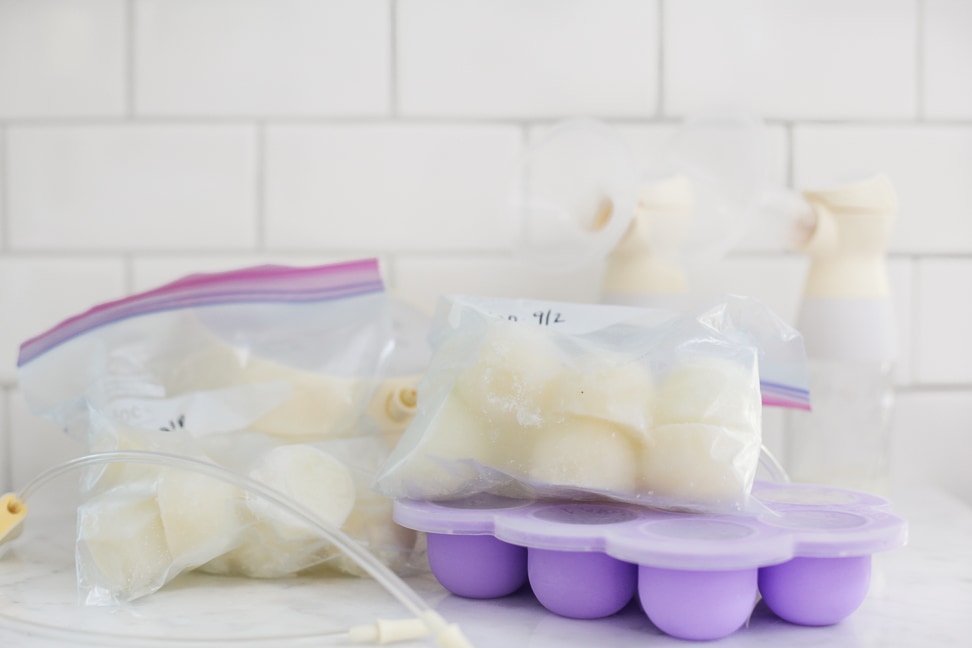
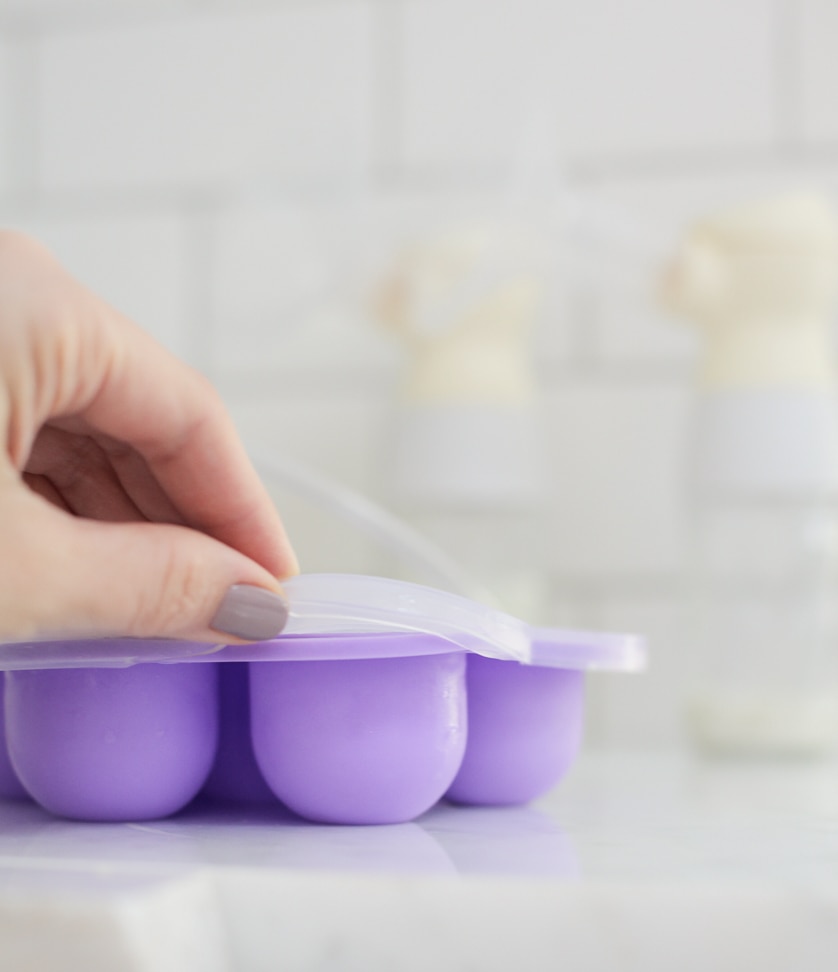
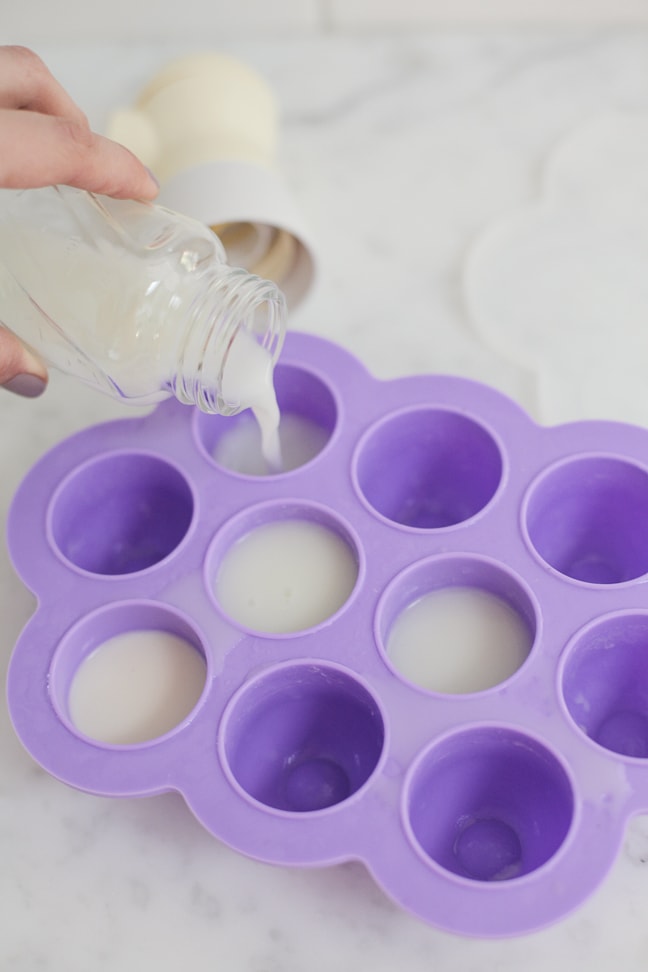
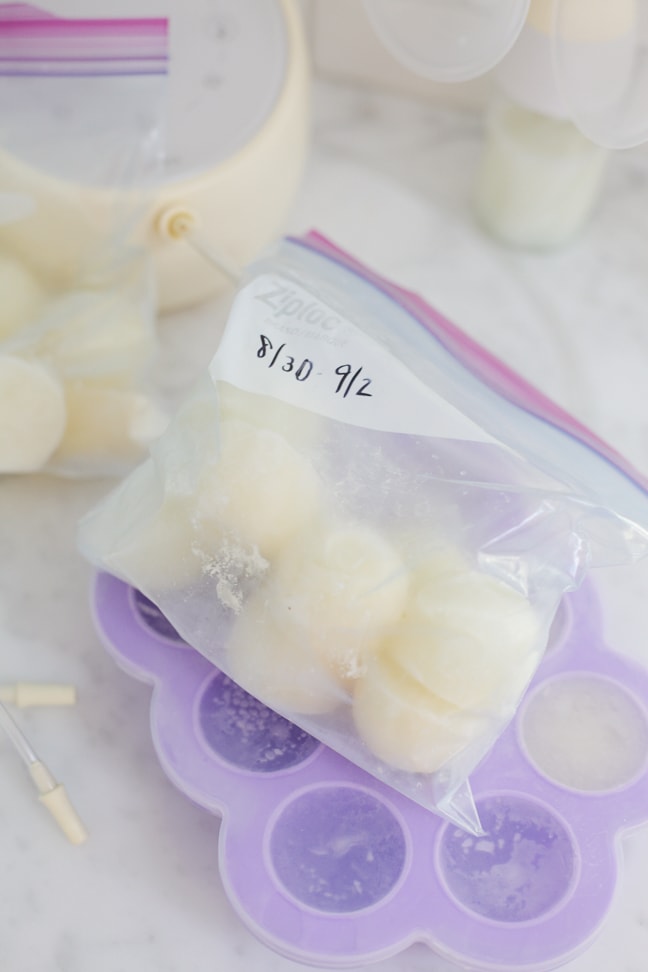
When I freeze, I pour the milk into these 1.5-ounce silicon molds. I originally purchased a mold that had 2.5-ounce cavities, but found that they took too long to defrost and also didn't fit well in my bottles. The bottom of these molds is really sturdy so I don't have to freeze them on top of a tray or anything. Plus the silicone lid closes tightly over the top to prevent spillage or freezer burn.
After I have filled up a tray and frozen it, I pop the cubes out of the mold and put them in a resealable bag or a big glass tupperware and label it with painters tape with the date range that the milk was from. I know a ziploc may seem counterintuitive, but from what I have read, it's one of the safer plastics to use with food, plus since the milk is already frozen, I'm not as worried about leaching.
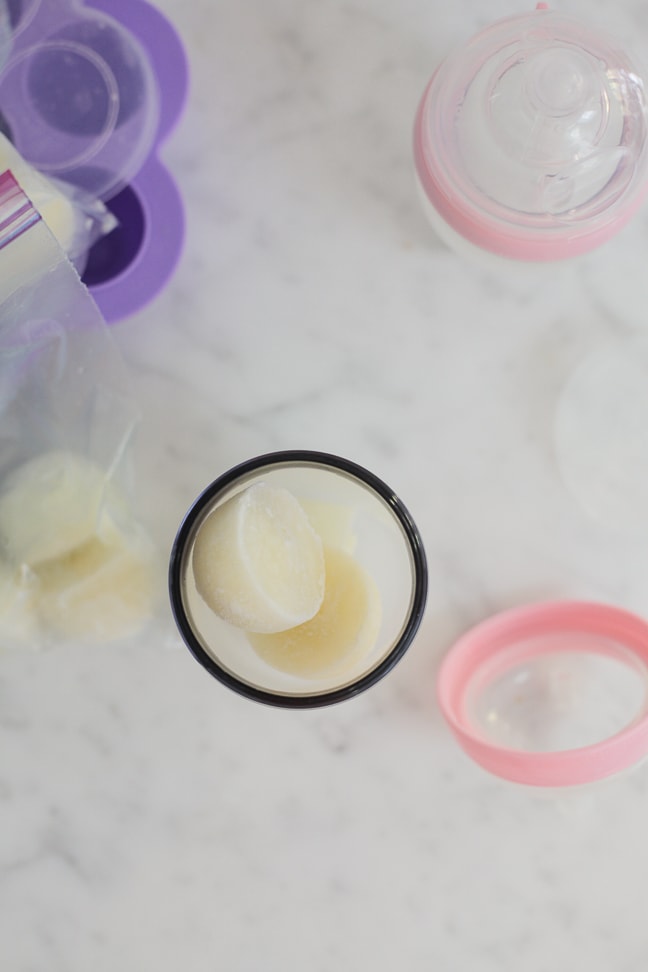
When I plan in advance, I take 5 or 6 of the cubes out of the freezer and put them into the bottle. I place the bottle in the refrigerator overnight so they can defrost slowly, and then just warm it when needed. If I need a bottle quickly and haven't defrosted any milk, the cubes also defrost really quickly in a mason jar set in a bowl of boiling water. The molds can be used for baby food or even popsicles later, so they'll get double use after I'm done nursing.
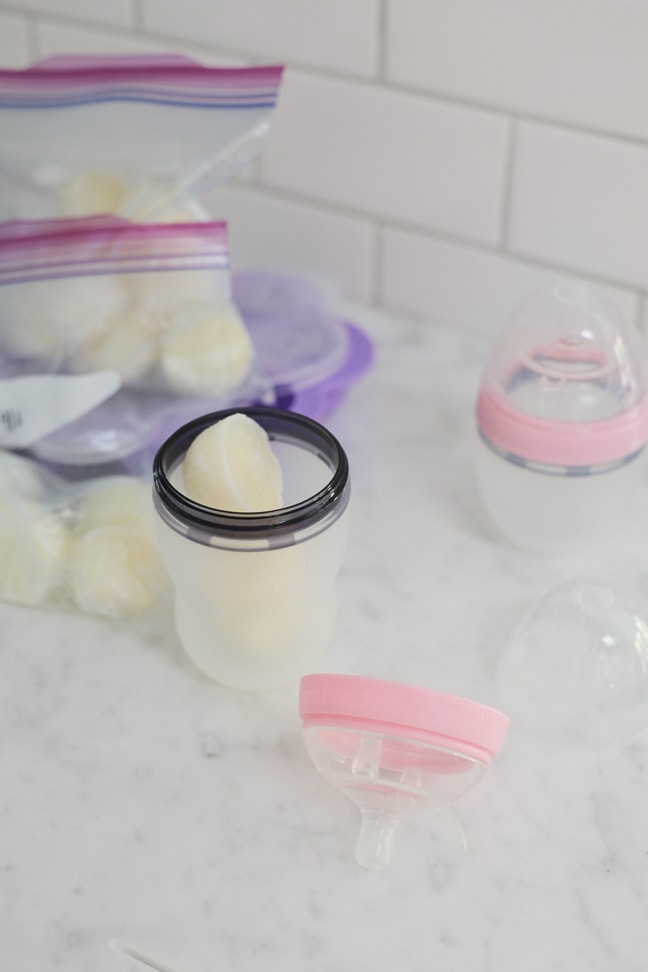
I love these Como Tomo bottles, especially when I'm using my frozen milk cubes. The wide necks allow me to place them in there frozen, rather than defrosting in a separate vessel then transferring to the bottle, and Kezia seems to really love the silicone feeling of the bottle. I also have a set of these wide-neck glass bottles that we use some of the time. A wide neck bottle also makes cleaning so much easier.
I still do occasionally use the pumping plastic storage bags if I'm traveling, since they're the most compact and I can freeze them flat for easier transporting back home. But I feel a lot better knowing that the majority of the milk she gets won't touch any plastic (besides the pump parts briefly). It's definitely a more involved process than pumping directly into a freezable bag or container, but I feel like it's worth the extra effort.
I hope this post helped answer some of your questions! Stay tuned next week for a post from the crew at Whole30 on eating a Paleo and Whole30 diet while maintaining a good supply.
Amanda Schiefelbein
When you hear milk in the glass bottles, do the glass bottles burn your skin when they get hot? Also, would they shatter if they drop? I love the idea of going glass, but worry about safety with my newborn and my two other toddlers (our house is always chaotic)
Danielle
They get hot if you’re using a bottle warmer, but they’re not as bad if you do it in a bowl or boiling water. I just use tongs or a towel to get it out and it cools down super quickly once I’ve put the lid on and am ready to feed the baby. I’ve dropped mine quite a few times and they haven’t broken. I read a lot of Amazon reviews beforehand and people seemed to have similar experiences.
Lindsay
Thanks for this! Can’t wait for your next post about Whole30/Paleo while nursing!!
Danielle
Thanks for the support Lindsay!
Danya McLamb
Hi Danielle! Thanks so much for this post!! How do you sterilize the pump parts and bottles? The Medela microwaveable plastic bags make me nervous, especially after going to such lengths to remove plastic from the pumping routine…
Melody
Love this.. I freeze all kinds of things in silicone and didn’t think about the milk.. I just bought a TON of 8 oz glass mason jars with my first and pour my milk into those to freeze. Someday I’ll sell them or just start canning ha! 🙂 I also don’t pump into the original bottles I use stainless steel ones since it’s a little lighter vs. the heavy glass when it’s all attached. And pour into 2 tall 10 oz Dr. Brown’s bottles to carry home. I love my Spectra pump.. didn’t have it with my first and so glad I got a different brand this time. Had Hygiea the first time and it worked but not as comfortable or as quiet. I also highly recommend the pumpin pals flanges definitely increase output. Oh and Comotomo bottles are also our fav!
MC
Hi Melody, I know you posted this years ago, but hopefully you may be able to respond. I’m wondering what stainless steel bottles you found to fit the Spectra pump. Thanks! MC
Chelsey
Your method of freezing milk is GENIUS! The plastic milk storage bags are expensive and sometimes leak when defrosting milk. Thank you for sharing!
I had my youngest May 30th of this year – just a couple weeks before your Kezia was born, so we are in a similar phase of life right now. I am enjoying your baby posts in the blog and on Instagram and just wanted to say THANK YOU for your suggestions/baby picks and everything else. I’ve followed your journey since Against all grain and I am so looking forward to your next cookbook!
Danielle
Thanks so much for the support Chelsey and congrats on your baby! <3
Krysten
Do you worry about freezer burn on the milk in the ziploc bags? I have always had a huge milk supply the first few months after giving birth, so I usually store a lot of the milk for when my body stops wanting to pump later on (I pump every day at work). I’m thinking ahead to the possible next kid and wondering if this will work for me.
Melissa Scott
How do you freeze the milk when you’re traveling? I’m assuming you have to pump when you’re gone to keep up supply and have to transport the milk back home, but how do ensure it stays frozen so it doesn’t go bad?
Sofia
Do you make your own baby food as well. Would you be up to doing a blog post for that?
Mary Pat Simulis
Did you ever have a problem with freezer burn on the milk using these? I have been using them for a month and maybe husband and I have both noticed the milk tastes kinda bad. I’m not sure what I’m doing wrong.